


Stable Isotope Metabolomics Larval Protocol
This protocol details the step-by-step process for incubations for stable isotope metabolomics for coral larvae.
Larval stable isotope metabolomics incubation protocol
Incubations of larvae in the presence of C13 stable isotopes for the purpose of stable isotope metabolomics will provide insights on metabolites present in host that were generated by the symbiont for nutritional exchange.
Protocol written by Ariana Huffmyer (June 2022).
1. Prepare equipment
The equipment needed for this protocol for one sampling time point includes the following items. Quantities written for larval exposure in Hawaii 2022, which includes 6 squaricals of larvae in two temperature treatments (high and ambient). Modify number of each supply needed depending on replication.
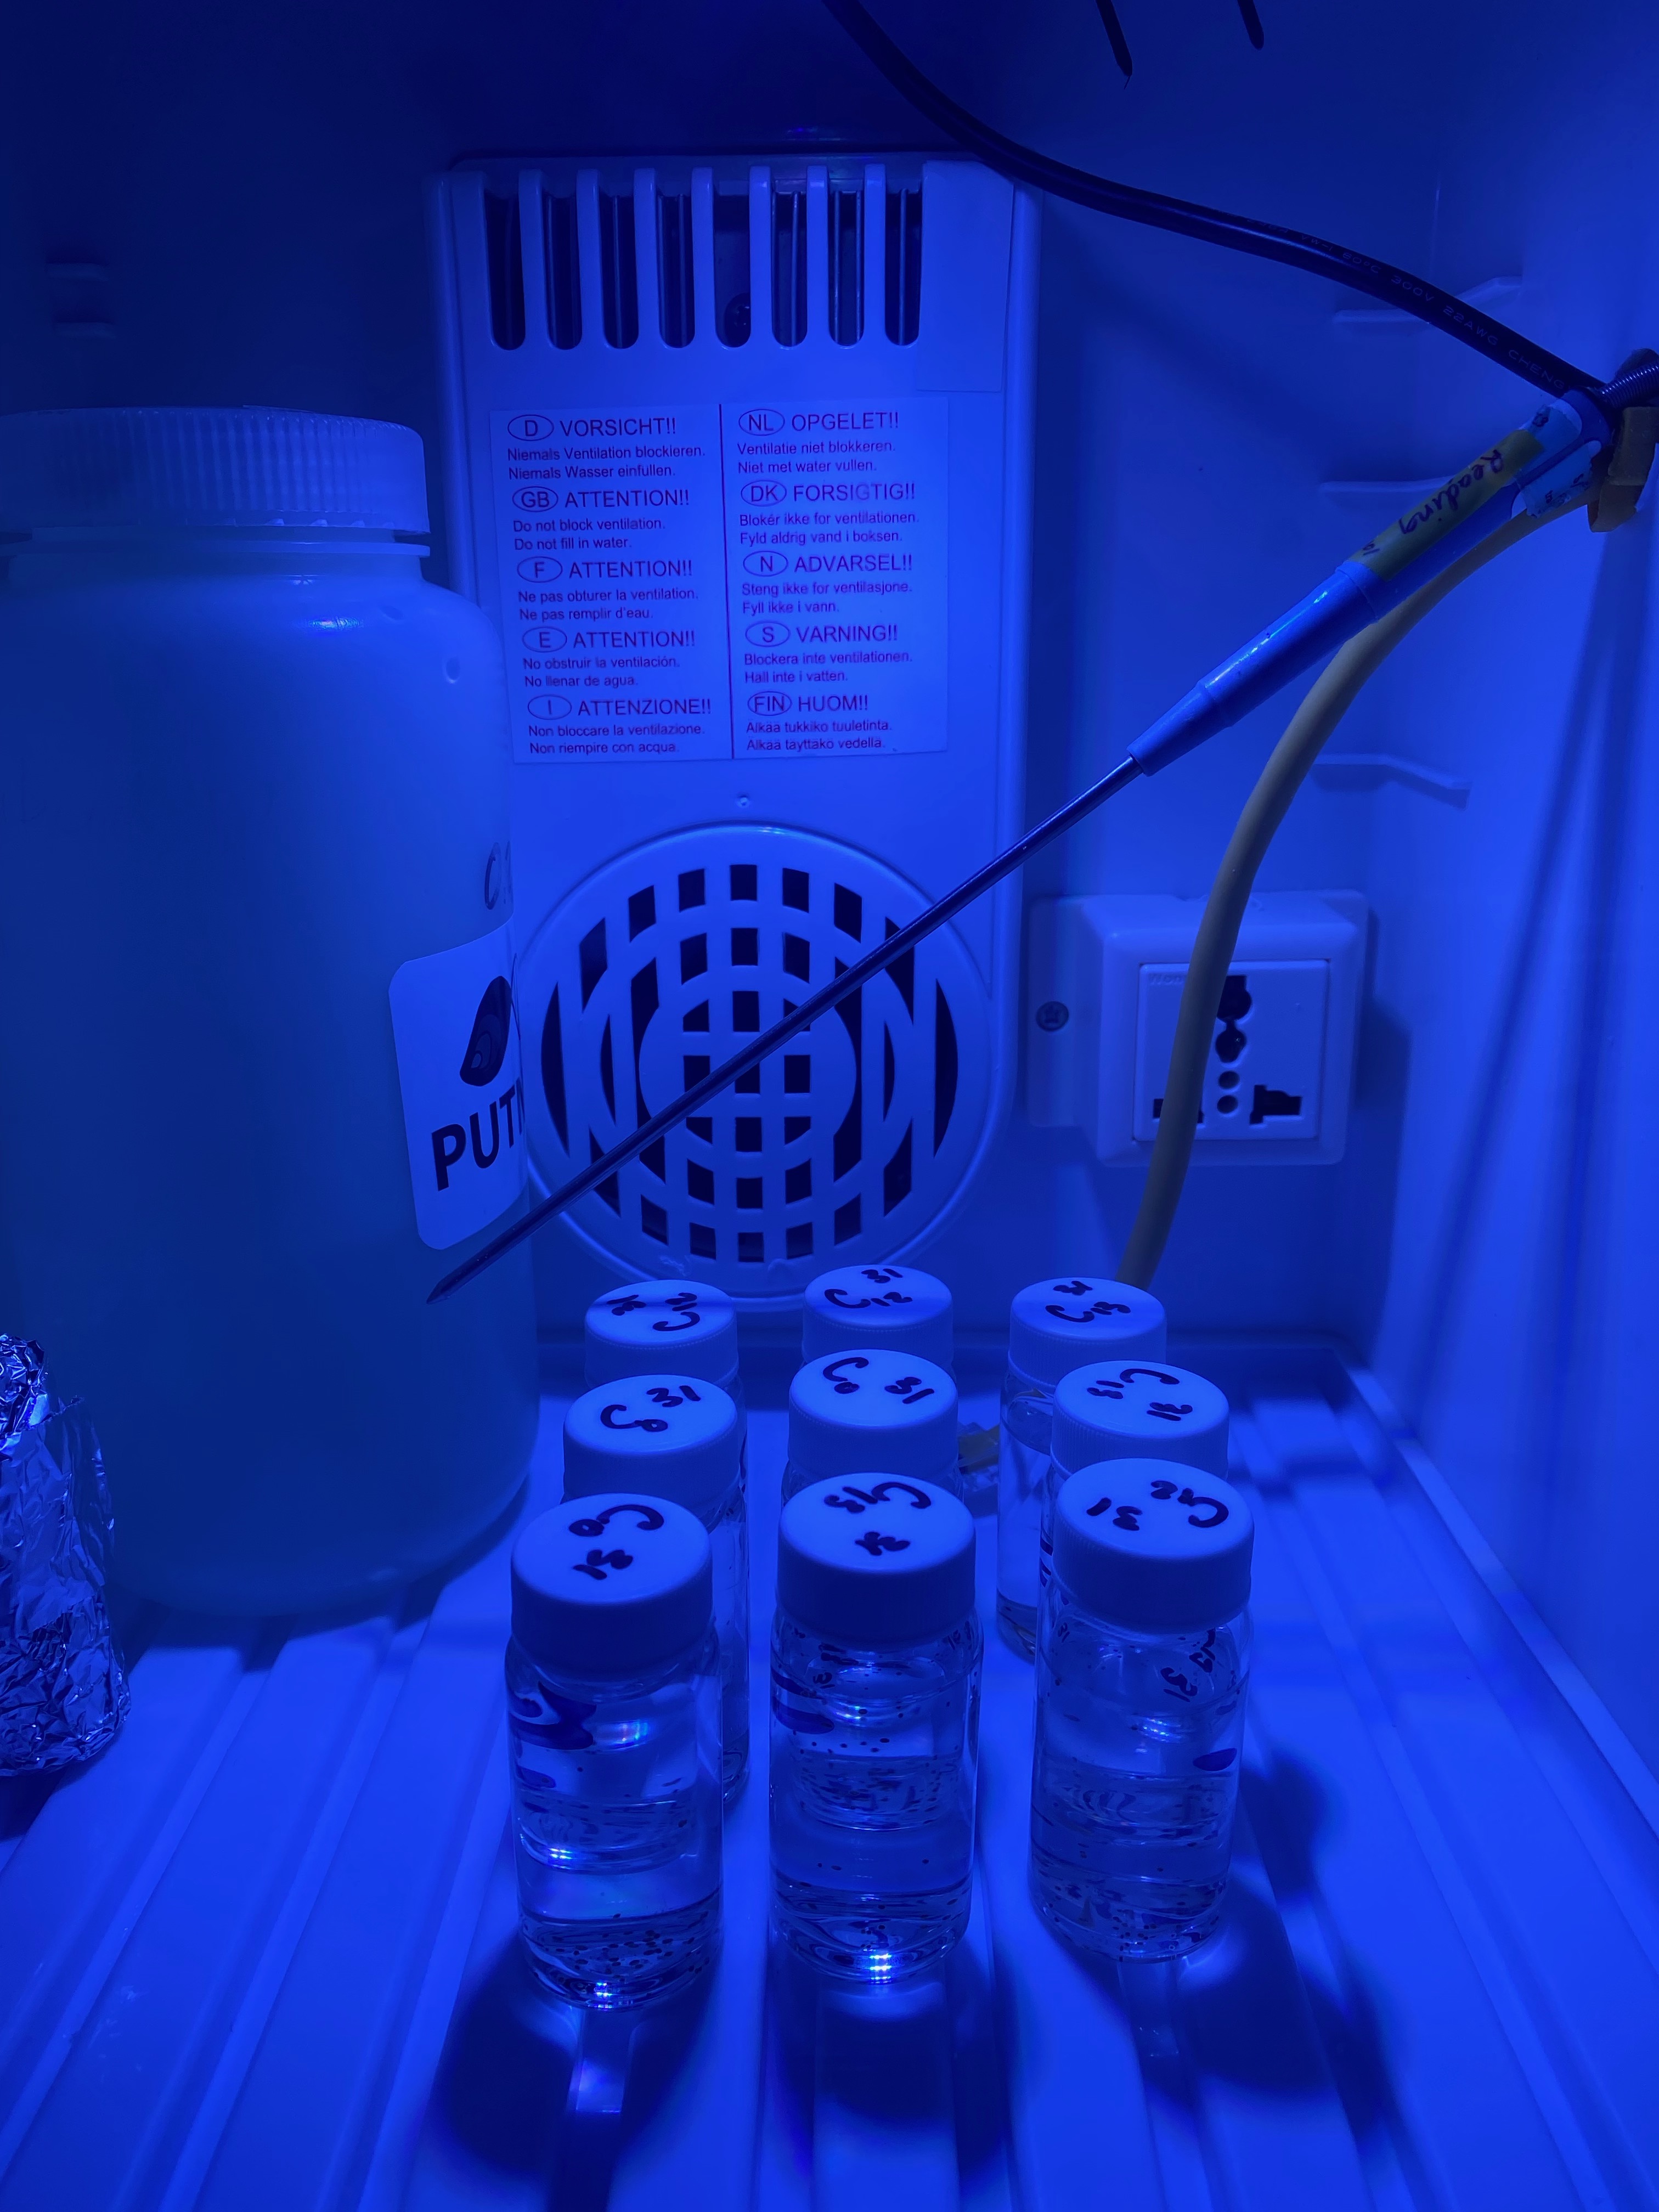
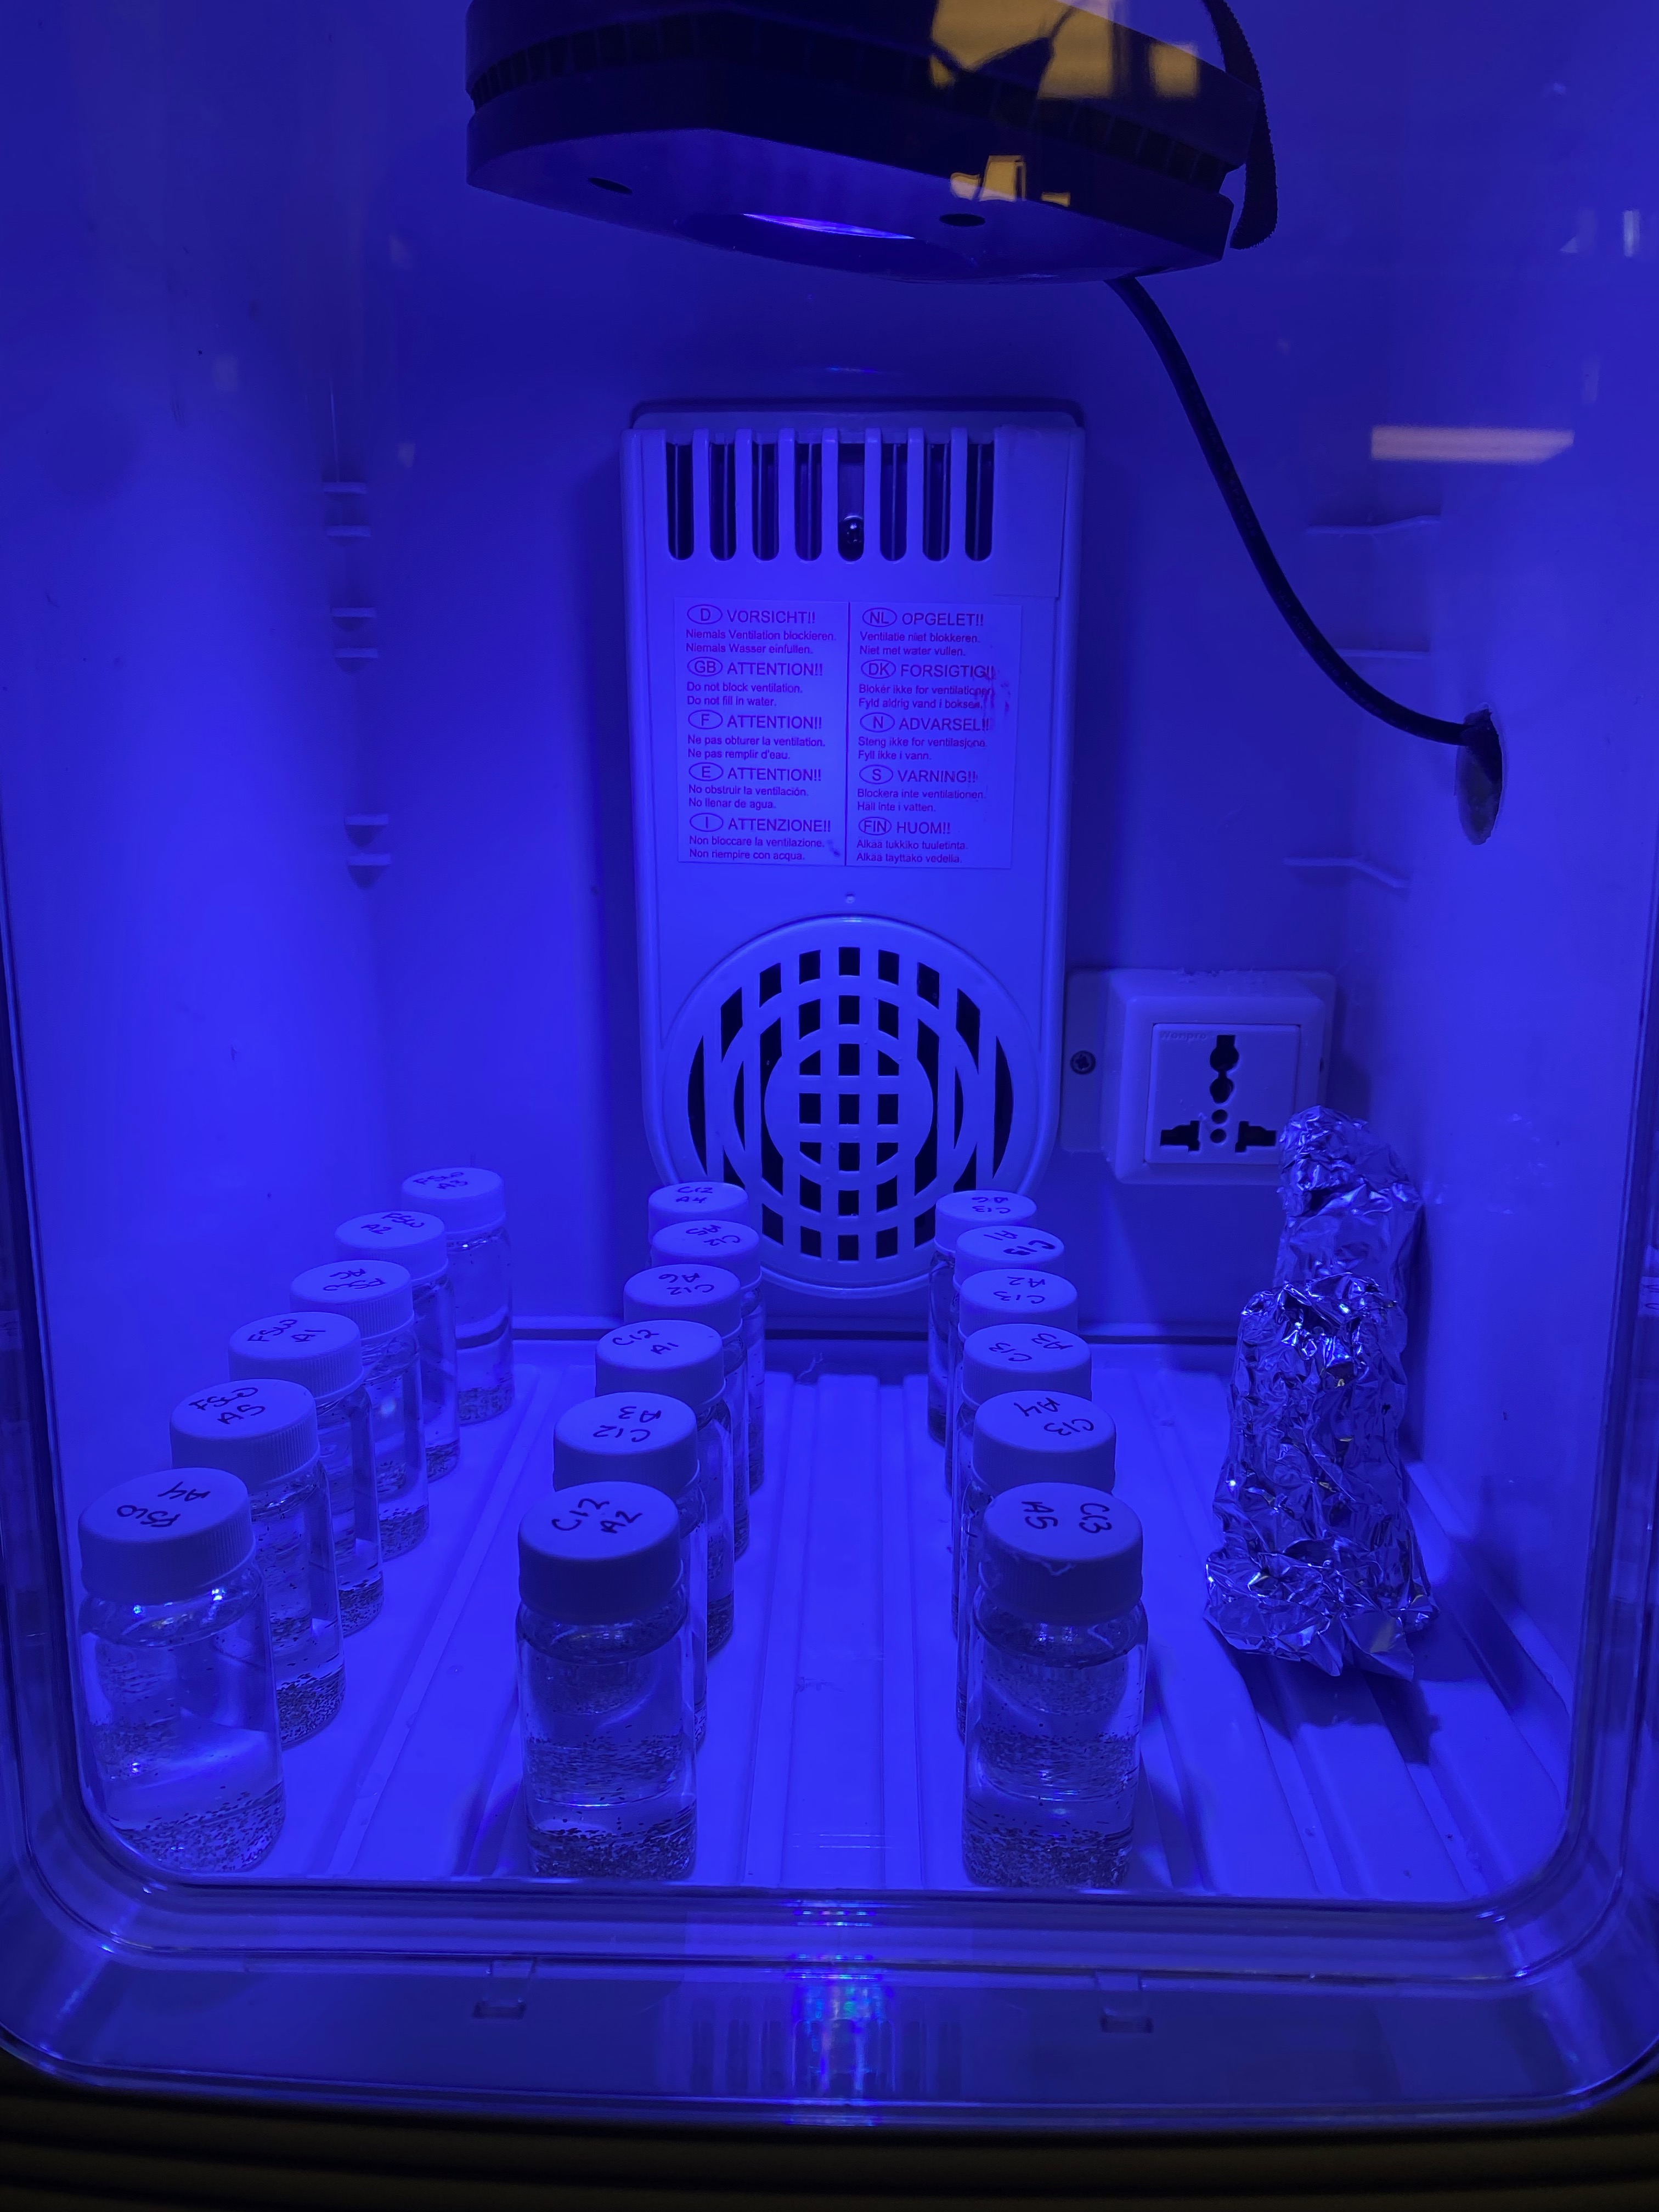
- 24 20mL glass scintillation vials
- 6 cell strainers
- 3 glass transfer pipettes
- Pipette, gloves, and markers
- C-13 labeled sodium bicarbonate
- Unlabeled sodium bicarbonate
- Scoopula or spatula
- Filtered seawater (1 micron filtered)
- Aluminum foil
- 2 bench top incubators with aquarium lights
- 3 6-well plates
- 24 1.5 to 2mL screw cap tubes
- 2 Hobo loggers
- Ditigal thermometer
- Apogee sensor
These are the materials that will be needed each sampling time point. Isotope solution should be made fresh before each time point.
Caution: Throughout this protocol, ensure great care that any materials, including pipettes, gloves, plates, tubes, or vials that have been used for C-13 incubations are NOT used for any unlabeled equipment. It is critical to avoid C-13 contamination to the control samples.
Label the equipment in preparation for sampling and incubations as follows.
Scintillation vial labels: Label 12 of the scintillation vials (one for each of our 12 squaricals) with the following format “Date-C13-Squarical#”. For example, 20220615-C13-High1. There will be 6 vials for ambient and 6 for high with n=1 vial per squarical.
Then, label 6 total scintillation vials with the following format “Date-C13-Dark-Squarical#”. Select 3 random squaricals from each treatment that will be used for dark controls, totaling 6 squaricals. For example, 20220615-C13-Dark-High3.
Fiinally, label 6 total scintillation vials with the following format “Date-C12-Squarical#”. Select 3 random squaricals from each treatment that will be used for C12 controls, totaling 6 squaricals. For example, 20220615-C12-Ambient2.
Tube labels: Label the 24 screw top tubes with the same labels as the vials from above. Also add “Hawaii 2022” and “AH isotopes” to the tube label.
6-well plate labels: Label 1 6-well plate as “C13 only”. Label 1 6-well plate as “C13 Dark only”. Finally, label the last 6-well plate as “C12 only”.
Glass transfer pipette labels: Label 1 pipette as “C13 only”. Label 1 pipette as “C13 Dark only”. Finally, label the last pipette as “C12 only”.
Cell strainer labels: Label each strainer strainer as “C13 ambient”, “C13 high”, “C13 dark ambient”, “C13 dark high”, “C12 ambient”, and “C12 high”.
2. Prepare solutions and incubators
Prepare 4mM solutions of C12 and C13 bicarbonate.
C13 solution
Mix 280mL of 1um filtered seawater (FSW) + 108 mg C13 bicarbonate
C12 solution
Mix 240 mL 1uM FSW + 100 mg C12 bicarbonate
Preheat the incubators. Heat one incubator to 27°C and one to 31°C. Confirm temperatures are reached with the digital thermometer.
Start Hobo loggers to log temperature during the incubations.
Turn the lights on in the incubators to 30% on all channels (0% on UV). Record the light at the bottom of the incubator (level of the vials) with the Apogee light sensor.
Put one container/bottle of FSW in each incubator.
3. Prepare larvae
From each squarical, count and set aside 100 larvae. Use a plate or vials to count and set aside larvae. These larvae will be put into C13 incubations (1 vial per squarical). Add larvae into the pre labeled vials from above.
From the three randomly selected squaricals from above (see labeling section), count and set aside 100 larvae. Do this for three squaricals for C13 dark and C12 from high and ambient treatment. Add larvae into the pre labeled vials from above.
4. Record metadata
Record the vial labels, number of larvae, time incubation started, temperature of incubation, and any relevant notes in a metadata sheet.
5. Begin incubations
Wrap the C13-Dark vials in aluminum foil such that no light will be able to get through once the vials are wrapped and sealed.
Pour ~15 mL of the correct solution of either C12 or C13 into each vials that now each contain 100 larvae. There should be some remaining headspace in the vial, do not fill completely to the top.
Gently add the top of each vial but do NOT seal the vial. Leave the cap loose so that air can exchange.
Once you fill the dark vials, completely enclose with aluminum foil.
Once all vials are filled, move them into their respective incubators. Ambient vials will go in the 27°C incubator and high vials will go in the 31°C incubator.
Record time that vials begin the incubatioin in a metadata sheet.
5. Monitor incubations
Once per hour, gently swirl each vial to mix the larvae but be careful not to spill any water since the lids are loose. Rearrange the position of the vials within each incubator.
Check the temperature of the incubators every 30-60 min to ensure the incubator is at the right temperature.
Incubate the larvae for 5-6 hours in these conditions.
6. Sampling
After incubations, sample the larvae from each vial.
Record time the incubation ended.
Follow these steps for sampling:
- Remove vials from incubator and gather 6-well plates, labeled pipettes, and cell strainers labeled as specified above.
- First, sample the C12 samples. Open a vial and pour the liquid (SLOWLY) through a cell strainer that is sitting inside a well of a 6-well plate. It helps to have the cell strainer wet prior to pouring the larvae through.
- Use a few mL of FSW from water in the same temperature treatment incubator to rinse the larvae to remove C12 and C13 solution.
- Use the cell strainer and your pipette to gently push/guide the larvae into a group at the bottom of the cell strainer. Gather the larvae into a tight group. Then using as little of water as possible, pipette the larvae into the corresponding labeled tube for each vial.
- Flash freeze the sample tube in liquid nitrogen and store at -80C.
- Repeat this process with the C13 and C13-Dark samples. Ensure that you use separate labeled equipment for each isotope type.
- Record the time of sampling for each tube and any notes in the metadata.
7. Adapting for other life stages
If you want to sample settled recruits for isotope incubations, this process can be adapted to work with plugs with settled recruits.
Gather n=3-4 plugs with settled recruits (ideally about 50-100 settlers or with settlers in groups that would be easy to scrape off during sampling) and place in a 100-200mL jar. Make a small egg crate rack to fit in the jar so that the plugs stay upright.
Add the isotope solution to the jars at the concentrations specified above. Double or triple the recipe amount for the solutions if needed.
Have n=3 replicate jars per squarical for C13 incubations and n=1 jar for C12 control and n=1 jar (wrapped in aluminum foil) for dark C13 incubation.
If you are low on sample size and cannot do multiple plugs per jar, instead add one plug per jar.
Place the jars in an incubator and incubate as specified above. If you don’t have room in the incubator, you can place on a rack system inside the treatment tanks. If you have sampled larvae prior to recruits, incubate in the same way as done with larvae.
When you are ready to sample, start with the C12 plugs. Pour out the seawater solution and then with a gloved hand take out the plug and gently rinse with 1um FSW. Place in a labeled whirl pack (Date-C12-plug1 for example) and record on the metadata sheet. Flash freeze and store at -80°C for analysis.
Repeat the sampling process with the C13 and C13 dark samples, ensuring that you use separate equipment for each isotope type (including gloves, etc).