

Sanger Sequencing Training
Introduction to Sanger sequencing and training for coral species identification.
Software
We will be using Geneious Prime software, which I obtained through a University of Rhode Island site license.
What is Sanger sequencing?
In order to conduct marker gene analyses, we are extracting DNA from a sample and we are interested if there are nucleotide base differences (single nucleotide polymorphism). We need to identify a region in the genome that we can amplify that is conserved enough to amplify with enough variation to tell the difference between species, genotypes, and populations.
In Sanger sequencing, we are looking at one sequence at a time. First, in the PCR we will add a primer of the conserved region, DNA polymerase (Taq polymerase able to handle high temperature), the DNA sample, and fluorescent tagged nucleotides mixed with non-tagged nucleotides. We then QC our PCR product on a gel to confirm expected length.
Next we move to Sanger sequencing, which uses fluorescent tagged nucleotides at the terminating end. The sequences of each length runs through a capillary, smallest first. The laser beam and excitation then indicates which nucleotide is which and these are then lined up to give you a sequence!

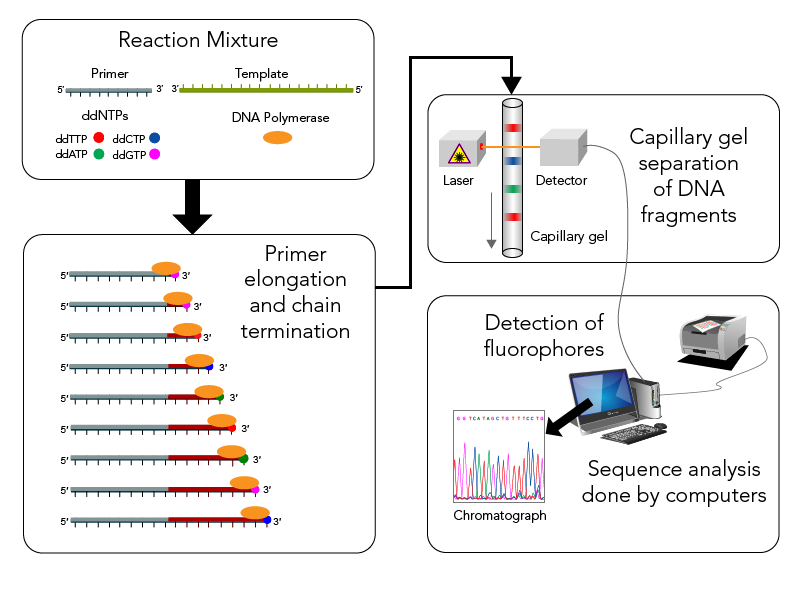
We then get a chromatogram to tell us what the sequence is!
Looking at sequences
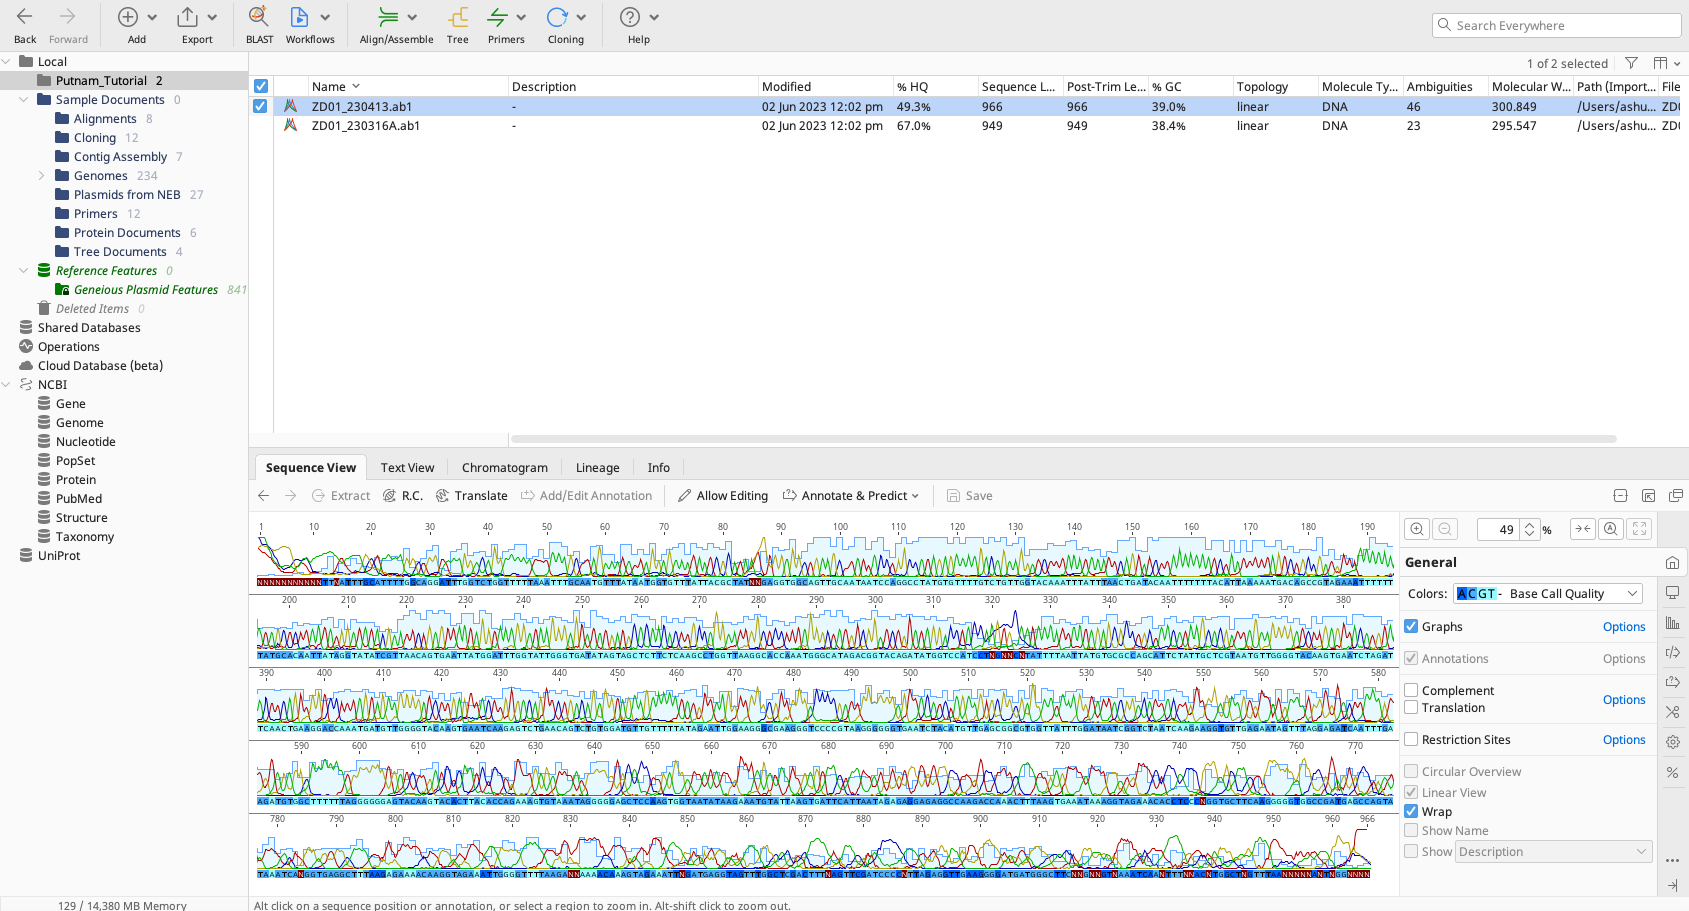
We have two files for each sequence. We are working through an example sample for this tutorial.
If the region of interest is longer than the sequencer can do in one run, we have to have both a forward and reverse for each to match them together to make a longer sequence.
Here is what this looks like in Geneious.
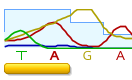
The colors show up as peaks on the chromatogram with the intensity of the fluorescence of that color indicated as the height of the peak.

We are using the “sequence view” and have “allow editing” enabled.
The sequencer has interpretted the chromatograms to make the “right” call. But we need to QC these calls and make sure that the base calls are correct.
We get a lot of noise at the beginning of the sequence in particular. There will be an N where a base call could not be made.
For example, we deleted the first 25 bp where there were many N’s.
Sometimes, we can get “dye blobs” that result from the capillary of the sequencer. In that case, we may need to change the calls.
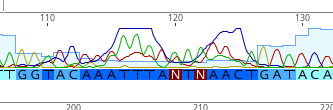
We changed the N’s here to T’s!
We can also check this information with the reverse sequence. If you don’t feel you can change it, you leave it as an N.
We also removed the noisy end of the sequence.
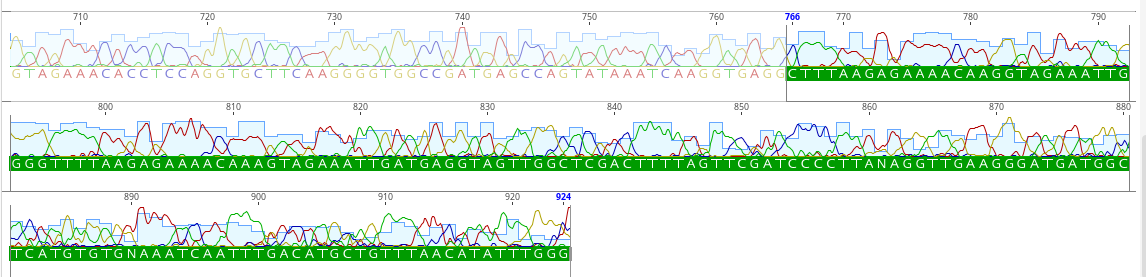
Here is our edited sequence now.
Repeat with other sequence files.
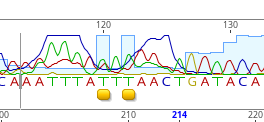
As another example, see the revisions we made when the peak for G was overwhelming the signal of the T and A peaks.
Aligning/generating concensus sequences
If we have both a forward and reverse, we need to align them into a consensus read. To do this, select both and perform a “pairwise” align. There are multiple methods for this, so look into the pros and cons of Geneious vs MUSCLE vs Clustal Omega, etc. We are using MUSCLE today.

If there is a color or dash, there are differences in the forward and reverse. We can QC these. If there are discrepancies, you can look back at the individual sequences and see what you feel most confident in.
Next, generate consensus sequence. You can select quality cut offs at this step.
Now we will compare other sequences to this one to compare against each other.
Remember, if we have a reverse sequence, we need to apply the reverse complement. You will see lots of gaps in the sequence alignment if your reverse is not complemented.
When you have multiple consensus sequences, you will do a “multiple align”.
This will align all your samples together. We can then generate a family tree. You will also need to QC any of these differences.
Generating a tree
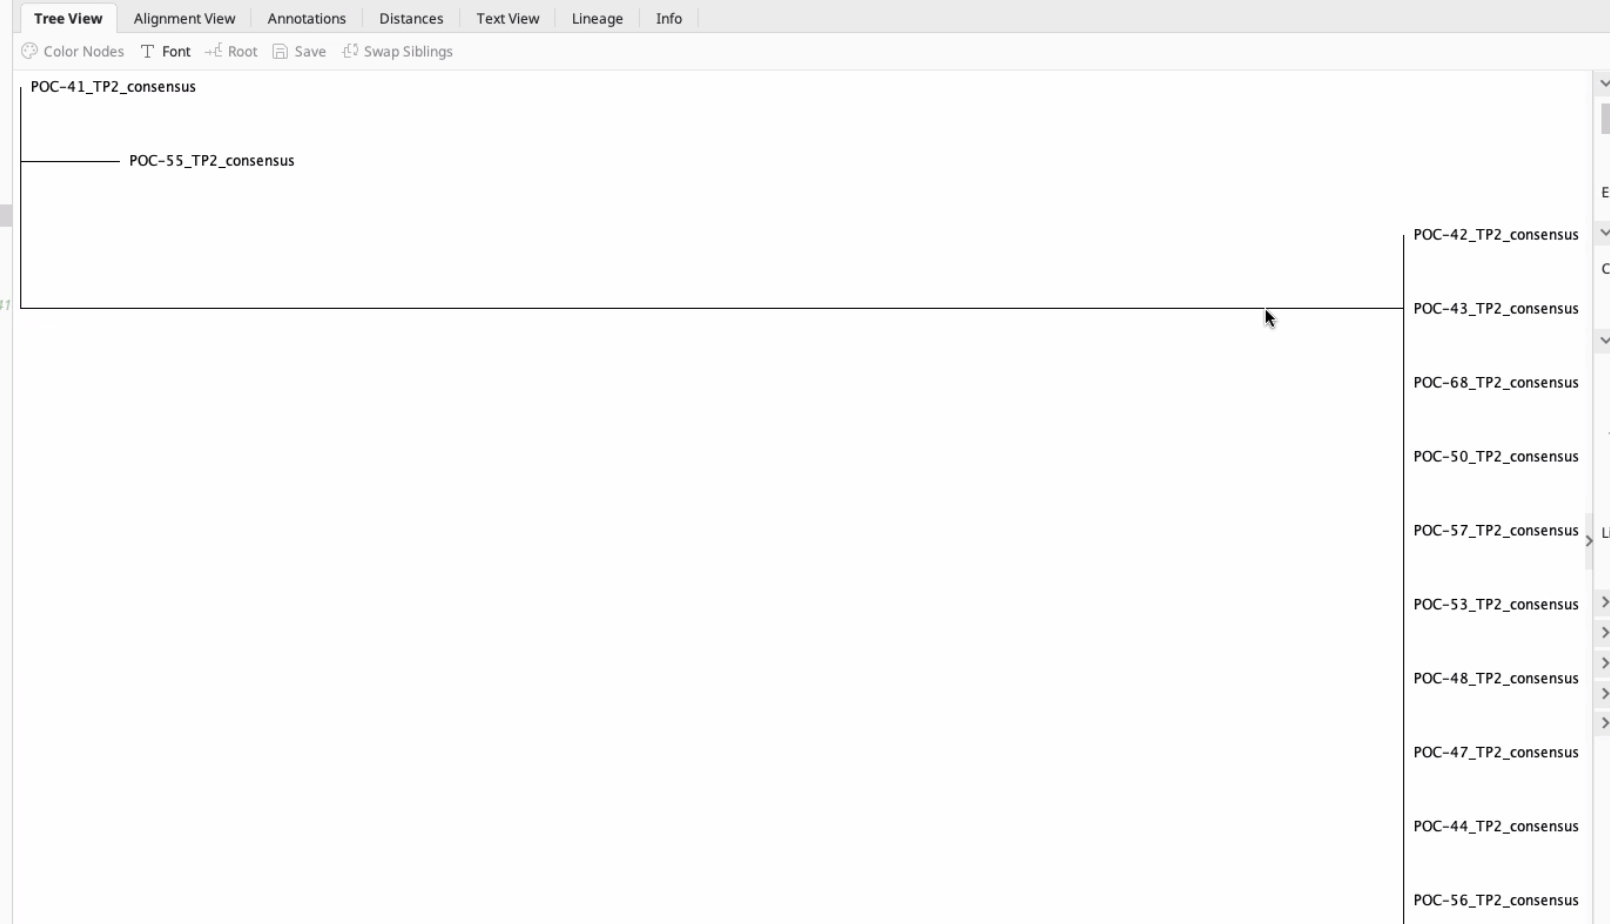
You can then generate a tree. You will need to select an outgroup (if applicable) and the algorithm. Here we just tried a default method. This will show a relatedness tree of your samples!
Here is an example from Hollie’s tree.
The further the branch, the farther the genetic distance.
You can generate different kinds of trees.
It is also possible to bring in Sanger files from past literature from your species or location of interest to help you see where your samples cluster relative to previously identified samples.
First you would align your sequences to the reference sequences and then generate a new tree.
If you don’t see variation in those sections, they are conserved. You then truncate all sequences to have the same start and end position.
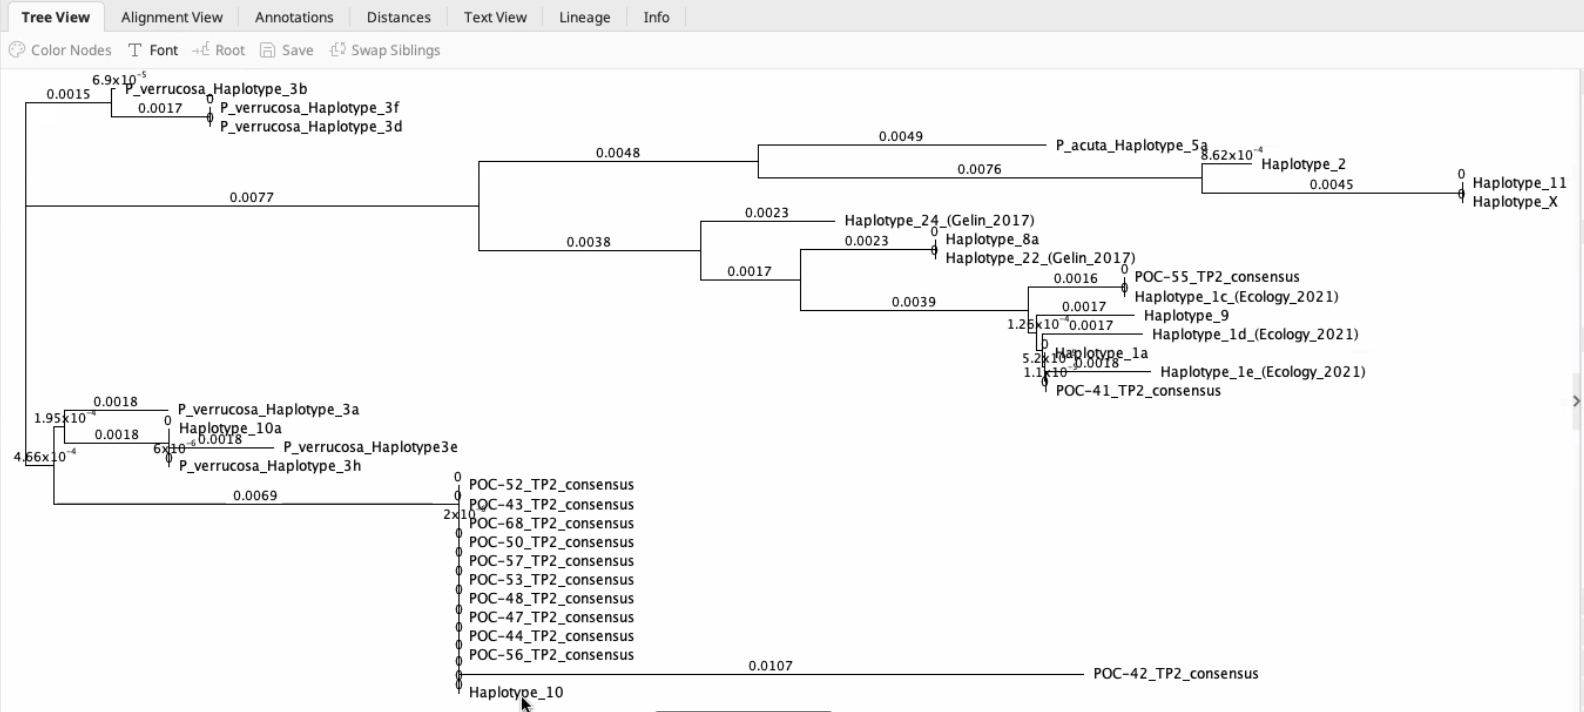
Sometimes you need a second marker to distinguish between species.
About 7 dollars for each sample including forward and reverse, not including the PCR, preparation, extraction. Probably 10 dollars per sample for all included.